|
embroidery on cards "the technique" |
|||
 |
designers of embroidery patterns on cards.
|
|
|
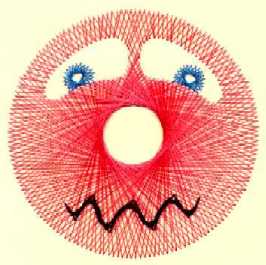
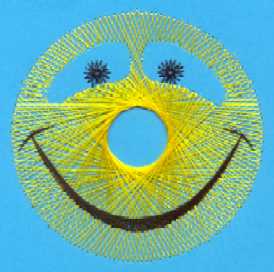
| smile | sorry | ||
|
Embroider your own congratulation or happiness card and make it personal. Our figures are based on a unique line pattern to decorate your card. This
is possible with an arbitrarily “figure” or fantasy “flowers” but also
with more or less known “images” as there are: the sun, the moon, a baby, a
dog or a mouse, etc. All of them are unique and imaginative. necessitiesUse
a small normal needle with point 11 or 10.
Do not use an embroidery needle with a dull point, these are to thick, they rib
out the holes in the card. Prick
needle (pergamano),
prick pillow (felt or heavy foam
rubber), Scissor, Ruler,
Adhesive Tape, Hobby glue.
Embroidery threat. Use for this
embroidery work
Embroidery threat for an
embroidery machine (trademark: Madeira,
DMC, Sulky of Gütermann.) These
companies have also metallic thread (metallic shine) and threads with blending
colours, which are very useful. Those threads are available on spools. (do not use thread skein DMC, this kind of thread give off fluff) technique
Fix
the card you want to embroider with tape behind the pattern. Place this together
on felt on the way you can see the pattern. Prick over all the points of the
pattern into the card. To
check if all points are used, keep the pattern with the card against the light. Remove the pattern from the card and start embroidery. embroidery Keep
the following method in mind:
In the description we are talking about threads who are lying at the “front
side”, these are the treads which make the pattern visible. “Behind” are the treads at the backside of the card. The description on the pattern will
be as follows: 1-2 = front side en (2-3) = behind |
|||
|
|
example
Put the needle with tread from behind through hole 1 and pull the tread until one cm. is left behind. Fix
that end of the thread with tape at the back site on the card. (do not cover
other holes) Pull
the tread to hole 11, behind to 12, front side to 2, backside to 3, front side
to 13 etc. The short description for this is as follows:
1-11 (11-12)
12-2 (2-3)
3-13 etc.
Go
on this way clockwise. On a certain moment, you have to use the holes a second
time. Embroider as long as you need to complete the figure. This
principal works the same with corners, like you see below.
Try
these examples a few times, until you are familiar with this work method.
tip To become the best result you need to rub against the pinholes at the backside of the card, after embroidering. |
||
|
|
|||
|
We wish you much pleasure with embroidery on cards, nico
|
|||